
The world of electronics and coding can seem intimidating, but with the Arduino platform, getting started is easier than ever! The key for absolute beginners is to eliminate the need for soldering. By using a breadboard and jumper wires, you can snap components together and start building real-world devices in minutes.
Here are the best beginner homemade electronics projects using Arduino, all without needing a soldering iron. These projects focus on core electronic concepts and simple coding, making them perfect for your first dive into the maker space.
1. The Classic Blinking LED (The “Hello World” of Hardware)
Before you can run, you have to walk, and in electronics, that means blinking an LED.
- What it Teaches: Basic output control, digital pins, and the delay() function in Arduino code.
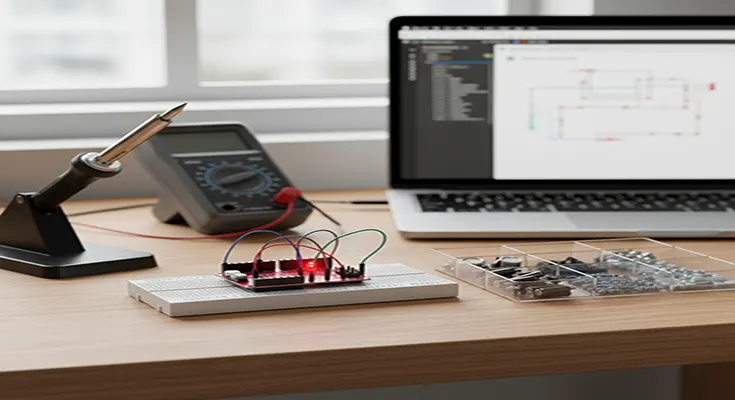
- Components: Arduino Uno (or similar board), a breadboard, one LED, one 220-ohm resistor, and a few jumper wires.
- The Build: Simply connect the LED (via the resistor for safety) from an Arduino digital pin to the ground (GND) on the breadboard. The code is minimal and comes pre-loaded in the Arduino IDE examples, giving you instant gratification!
2. Traffic Light Controller
Take the blinking LED concept and expand it into something functional and recognizable.
- What it Teaches: Timing sequences, controlling multiple outputs simultaneously, and implementing the for loop for repetitive tasks.
- Components: Arduino, breadboard, three LEDs (Red, Yellow, Green), three 220-ohm resistors, and jumper wires.
- The Build: Wire each LED independently, mimicking a real traffic light pattern in your code. This project is a fantastic way to practice structuring code logic with defined states (Red, Red/Yellow, Green, Yellow).
3. Digital Thermometer & Humidity Monitor
Start gathering data about your environment with a basic sensor project.
- What it Teaches: Reading data from an external sensor (input), working with libraries, and displaying information on the Serial Monitor or a small LCD.
- Components: Arduino, breadboard, a DHT11 or DHT22 temperature/humidity sensor, and jumper wires. (Optional but recommended for a cooler finish: a small 16×2 LCD display, which also connects to the Arduino without soldering via a breadboard and wires).
- The Build: The sensor is easy to connect and popular, meaning plenty of free code libraries are available. This project shows you how to turn raw sensor data into meaningful information.
4. Ultrasonic Distance Sensor (Parking Assistant)
This project introduces you to a powerful sensor used in robotics and smart systems—the ultrasonic distance sensor, which uses sound waves to measure distance.
- What it Teaches: Using a sensor to measure distance, understanding the concept of Input/Output (I/O), and conditional logic (if/else statements).
- Components: Arduino, breadboard, an HC-SR04 ultrasonic sensor, a buzzer (for the alarm), and jumper wires.
- The Build: Program the Arduino to read the distance from the sensor. If an object is closer than a set threshold (e.g., 10 cm), activate the buzzer! This is the fundamental basis for a simple car parking sensor or an obstacle-avoiding robot.
5. Simple Security Alarm System (PIR Sensor)
Build a basic motion-activated alarm to protect your desk or favorite snack drawer.
- What it Teaches: Interfacing with a Passive Infrared (PIR) motion sensor, controlling a loud output device (buzzer), and learning about digital input signals (HIGH or LOW).
- Components: Arduino, breadboard, a PIR Motion Sensor, a buzzer, and jumper wires.
- The Build: The PIR sensor outputs a simple HIGH signal when motion is detected. Your code simply checks for that HIGH signal and triggers the buzzer (and perhaps an LED) when motion is present.
Why the Breadboard is Your Best Friend
All these projects are “solderless” because they rely on the breadboard. This tool has a grid of interconnected holes that allows you to simply push the legs of components and jumper wires into place to form a circuit. This makes prototyping fast, easy, and completely reversible.
Ready to Dive In?
All you need is an Arduino board (the Uno is the standard starter), a basic electronics starter kit containing a breadboard, wires, LEDs, and a few common sensors (like the ones listed above). Pick a project that excites you, find a beginner tutorial online, and start building! The satisfaction of creating your own gadget is the best way to learn.
