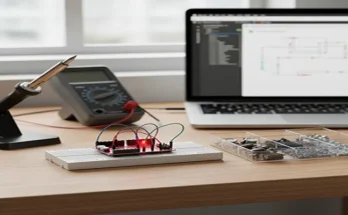
Building your own guitar pedals is a rewarding endeavor, but encountering noise, no power, or strange behavior is a common rite of passage. More often than not, the culprit lies in the power supply. A DIY pedal’s circuit is only as good as the clean, correct power feeding it.
Here is a guide to troubleshooting the most common power supply issues in your homemade guitar pedal circuits.
1. The Pedal is Completely Dead (No LED, No Sound)
The most alarming issue is a total lack of life. This often points to a fundamental power delivery problem.
| Symptom | Common Causes & DIY Checks |
| No Power/Dead Pedal | Incorrect Voltage: Most standard pedals run on 9V DC. Check your power adapter to ensure it is the correct voltage. Using a lower voltage might result in no power, while a higher voltage (e.g., 18V on a 9V-only circuit) can permanently damage components. Incorrect Polarity: The industry standard is Center Negative. Using a Center Positive adapter on a Center Negative pedal (or vice versa) can prevent the pedal from turning on or, in some cases, cause severe damage. Always verify the polarity symbol ( or ). Poor DC Jack Soldering/Wiring: Check the solder joints on the DC power jack. A loose or cold joint can cut off power. Use a multimeter to check for the correct voltage at the pedal’s PCB power input points. |
| Dead Pedal (after a few seconds) | Insufficient Current Draw (mA): If your pedal is digital or complex (e.g., delay, reverb), it may require more current (milliamperes, or mA) than your power supply can deliver. If the power supply is overloaded, it might shut down or cycle on and off. Fix: Check the pedal’s schematic for its minimum current requirement and ensure your power adapter meets or exceeds this value. |
2. Unwanted Noise: Hum, Hiss, or Buzz
Noise is the bane of any guitar rig, and the power supply is a frequent source.
| Symptom | Common Causes & DIY Checks |
| 50/60 Hz Hum | Ground Loops: A ground loop occurs when a circuit has multiple paths to the ground, which can pick up ambient electrical interference (the 50/60 Hz mains frequency). Check: If you are daisy-chaining power, try powering the problematic pedal with a fresh, high-quality 9V battery to isolate it from the main power supply. If the hum disappears, you have a ground loop or a dirty power source. Solution: Use an isolated power supply (one where each output is electrically separated from the others) instead of a daisy chain. |
| Hiss or White Noise | Dirty Power/Power Supply Filtering: The DC voltage from a “wall wart” or cheap supply may not be adequately filtered (smoothed out) before entering the circuit, leading to residual AC ripple that manifests as hiss. Check: Inspect the filtering capacitors on your DIY board (often a large electrolytic capacitor near the power input). If they are missing, incorrectly polarized, or too small, the power will be noisy. Solution: Ensure your power supply filtering is robust, typically using both large electrolytic capacitors ( to ) and smaller film capacitors ( to ) to filter different frequency noise. |
| Hiss or High-Pitched Whine | Digital Cross-Talk: If you’re using a digital pedal (even a DIY one with an IC) powered by the same chain as an analog one, noise from the digital clock can leak into the analog power rail. Solution: Use a truly isolated power supply. Never daisy-chain high-current digital pedals with sensitive analog circuits. |
| Radio Frequency (RF) Interference | Poor Grounding or Shielding: The circuit is acting like an antenna. Check: Ensure all components that should be grounded (input/output jacks, enclosure if metal, main ground trace) are properly connected. If using a plastic enclosure, you may need a metal shield around the circuit. Solution: Keep patch cables away from power cables and any transformers. |
3. Intermittent Problems or Sudden Failure
When a pedal works sometimes or dies unexpectedly, it often suggests a physical connection issue.
| Symptom | Common Causes & DIY Checks |
| Intermittent Power/Sound | Loose Connections: Wires may have come loose from the DC jack or the PCB due to handling or poor soldering. Check: Wiggle the power plug in the jack; if the pedal cuts in and out, the jack or its solder joints are faulty. Re-solder any questionable joints on the DC jack and the main power leads. Cracked Solder Joints: Inspect the joints with a magnifying glass. Re-flow any solder joints that look dull, granular, or like they have a ring around the component lead (“cold joint”). |
| Dead Pedal After Enclosure Mounting | Short Circuit: A component lead (especially on the board’s underside) is touching the conductive metal enclosure, creating a short to ground. Solution: Isolate the PCB from the enclosure using a non-conductive material like rubber grommets, tape, or a clear plastic sheet. Ensure no component leads are exposed or bent to touch the case. |
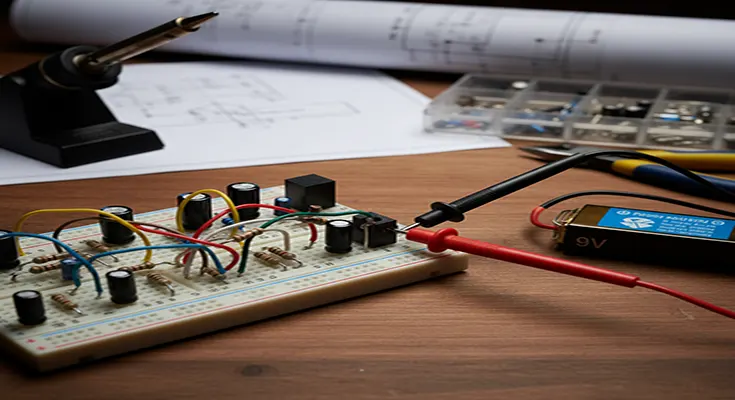
Essential Power Supply Troubleshooting Tools
- Multimeter: Essential for checking Voltage (V), Continuity, and identifying shorts.
- Check Voltage: Verify the adapter output and the voltage present at the PCB’s power rails.
- Check Continuity: Test for shorts between the positive power rail and ground, or to confirm solid ground connections.
- Fresh Battery: The simplest way to quickly rule out your external power supply or ground loop issues. If the pedal works perfectly on a battery, the problem is your adapter or its cabling.
- Contact Cleaner: To clean the contacts of the DC jack, which can become oxidized or dirty, leading to intermittent power.
By methodically checking Voltage, Polarity, Current, and Grounding, you can quickly diagnose and fix the power supply issues that commonly plague DIY guitar pedal circuits, ensuring your sonic creation runs cleanly and reliably.